Marble cakes are something of a common sight in many bakeries, but how much is it talked about? We are here to fill that blank and talk about how the elaborate looking but simple marble cake came into being.
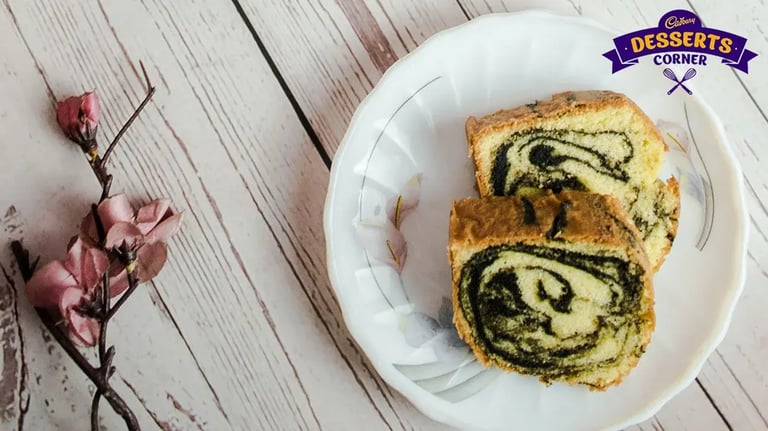
We need to talk about marble cakes if we are talking about the marbling technique that gives marble cakes their distinct vanilla-chocolate swirls. The Germans had something to do with the marble cake, as a spinoff of their plain old boring breads. It really is a marvel and such an underrated gem—a plain cake with a beautiful interior that is not talked about so much. This cake is almost like a teacake and a little high on the sugar content, so if you love your sweets this will perfectly be up your alley.
The Story Behind the Cake and How It Found ts Marbles
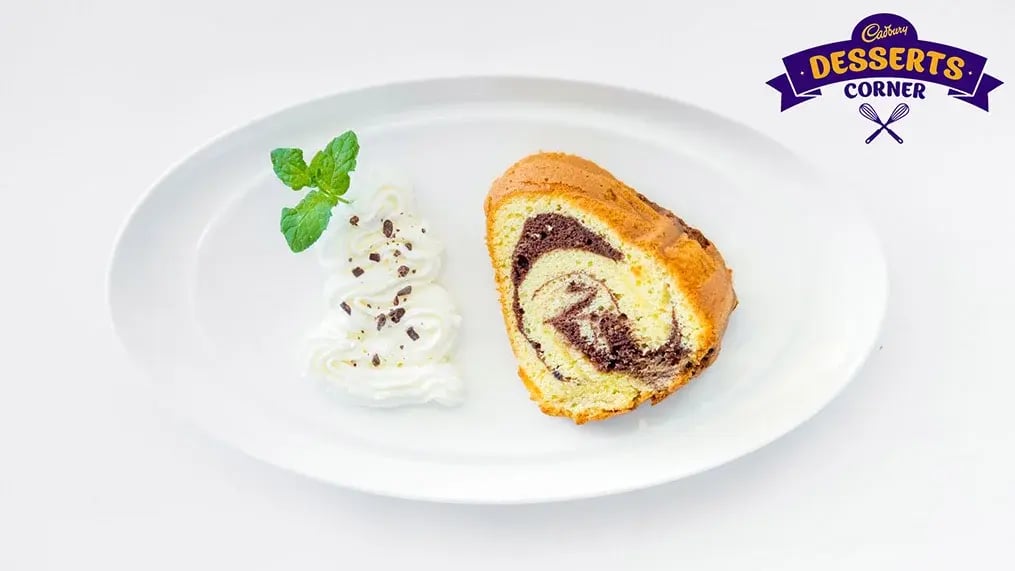
The origins of marble cake can be traced back to early 19th-century Germany, where it first emerged as a variation on traditional kugelhopf bread. Bakers in southern Germany developed techniques for marbling different colored and flavored batters together in loaves. Generally, half the batter would contain molasses or spices like cinnamon, creating a distinctive swirled pattern when baked.
This innovative marbling technique soon made its way from yeast bread to lighter sponge cake batters as well. German immigrants are credited with creating the first true marble cakes and bringing the concept to North America in the early 1800s. Newspaper advertisements from 1859 in Illinois represent some of the earliest known published references to "marble cake" in the United States.
As the popularity of chocolate grew exponentially in America during the late Victorian era, Ashkenazi Jewish bakers residing in large coastal cities are believed to have adapted traditional Central European marble cake recipes to incorporate grated chocolate. One of the first published American Jewish cookbooks from 1889 features a recipe instructing bakers to add chocolate to half the batter for a "marbled effect".
During a period of culinary fusion and experimentation in the late 19th century, recipes combining chocolate with other flavors like cinnamon, cloves, and allspice also gained popularity. Over time chocolate emerged as the definitive flavor in most modern marble cake preparations. The unique swirled batter design remains a hallmark of the cake to this day.
Marble Cake Recipe

Ingredients:
- 200 gm all-purpose flour
- 200 gm sugar
- 4 eggs
- 100 ml vegetable oil
- 100 ml milk
- 2 tbsp Cadbury Cocoa powder
- 1 tsp vanilla extract
Instructions:
- Preheat the oven to 180°C and grease a loaf pan (the ones typically used for making bread).
- In a mixing bowl, whisk together the flour and sugar. Create a depression in the center and add the eggs, oil, and milk, then whisk them until smooth with no lumps.
- Divide this batter evenly, between two bowls.
- For the darker swirl, add the Cadbury cocoa powder and vanilla extract to one of the bowls and whisk to combine.
- Drop spoonfuls of the chocolate and vanilla batters alternately into the pre-prepared loaf pan.
- Use a butter knife, a blunt knife will also do, to swirl the batters together gently for a marbled effect.
- Bake for 50-60 minutes until a toothpick inserted in the center comes out clean.
- Allow to cool in the pan for 10 minutes before removing from the heat to cool completely on your kitchen counter.
- Dust with icing sugar before serving if desired.
Tips for Acing Marbling

Too many cooks spoil the broth, and so does too much mixing or swirling when making the marbling pattern. A gentle hand is needed and the rest will fall into place quite smoothly, here are some helpful tips:
- Use a spatula or butter knife to gently swirl the batters together in the pan, trying not to overmix. This helps preserve the streaks of chocolate and vanilla, otherwise, you will have a regular cake if you overmix.
- Drop spoonfuls of the batter alternately into the pan instead of layering. This allows them to naturally swirl together as you gently fold.
- Resist the urge to aggressively swirl, hold off the intrusive thoughts on this one—go for a loose, streaky effect rather than fully combined. Some distinct lines of each batter should still be visible.
- If your batters are very fluid and mixing, you may need to let them sit for a few minutes before swirling so they set up slightly and don't just blend together.
- Use a figure-8 motion with your spatula or knife when swirling for the best-marbled appearance. With more experience, you can try other patterns for different outcomes.
Like This Article?
More Like This


Popular Articles


Trending Web Stories
Curated Recipes
