


Truffles are fairly easy to make but can also be equally tricky, given that chocolate is involved, and if not handled well, it can burn and crack. With this guide, rest assured, you can make the perfect chocolate truffles in no time.

Truffles are fairly easy to make but can also be equally tricky, given that chocolate is involved, and if not handled well, it can burn and crack. With this guide, rest assured, you can make the perfect chocolate truffles in no time.
Ever wished you had a secret skill that would wow your friends? I've got just the thing—an artistry that will have your taste buds singing. I'm talking about chocolate truffles, those tiny morsels of melt-in-your-mouth heaven.
Now you may think truffles are too fancy and difficult, left to professionals in fancy kitchens. Au contraire! With a little practice, these delectable chocolate creations can be your new party trick. All it takes is a generous amount of chocolate, a little cream, and a pinch of magic from your hands. Let’s walk you through the truffle-making process from scratch.
Making the Ganache
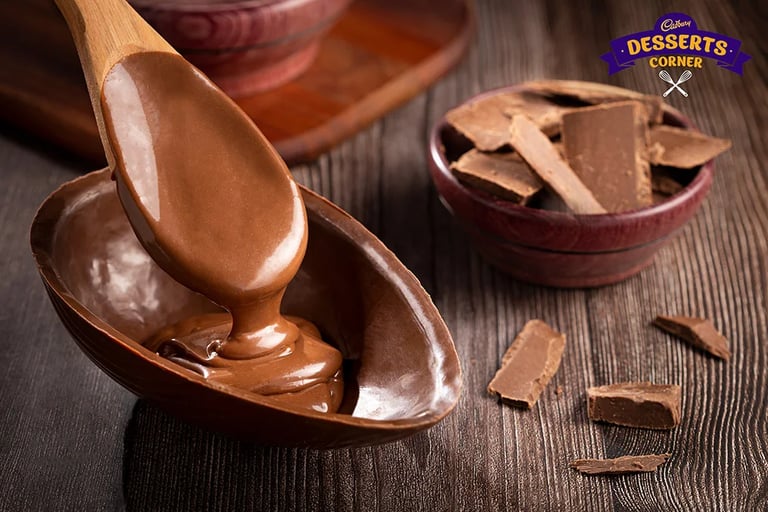
- Finely chop 200 gm of dark chocolate. Heat 1 cup of heavy cream in a saucepan until it begins to simmer.
- Pour the hot cream over the chocolate in a heatproof bowl and let it sit for 5 minutes. Gently whisk the mixture until combined and smooth. The ganache should have a thick yet pourable consistency.
- Allow it to cool, stirring occasionally. The ganache will thicken as it cools.
- If the ganache becomes too thick upon cooling, use the double boiler method, which is used to melt chocolate, to warm it and reach the proper consistency.
Forming and Coating Truffles:
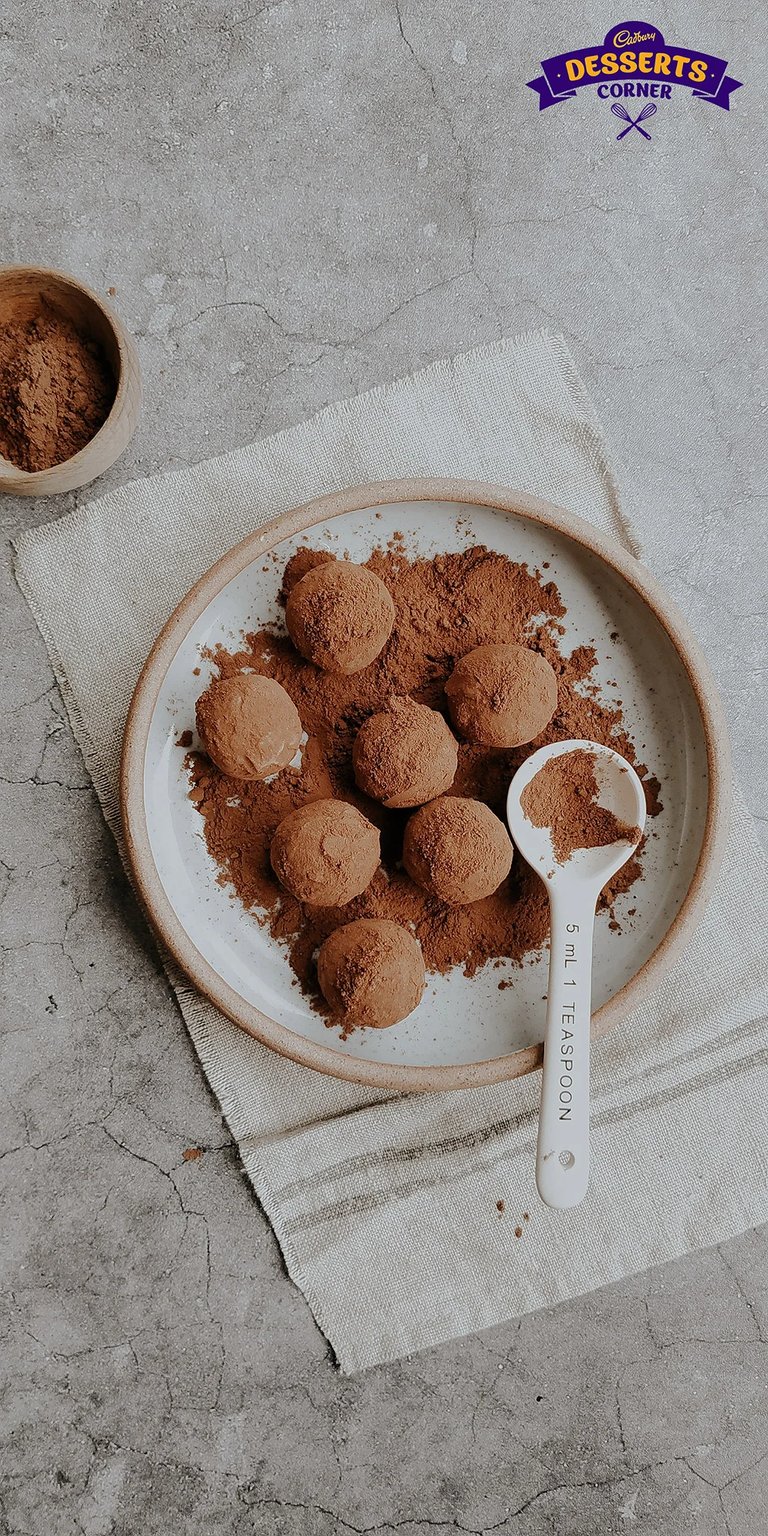
- Once the ganache is thick and fudgy, scoop rounded teaspoonfuls and roll into smooth balls with your hands.
- Place the truffle balls on a baking sheet and set aside. Prepare your coatings by spreading cocoa powder, crushed nuts or desiccated coconut onto small plates.
- Gently roll each truffle ball in the desired coating to completely cover the surface. Feel free to experiment with different coating options.
- Use a small spoon to transfer the coated truffles to mini cupcake liners or petit four papers for serving. Dust with extra cocoa powder if desired.
- Arrange the truffles on a decorative plate and serve. Extra truffles can be stored in an airtight container in the fridge until they are ready to be served.
Tips and Techniques
For storage, keep truffles in an airtight container in the fridge for up to one week. Allow truffles to sit at room temperature for 30 minutes before serving to eat them at their best texture and flavor.
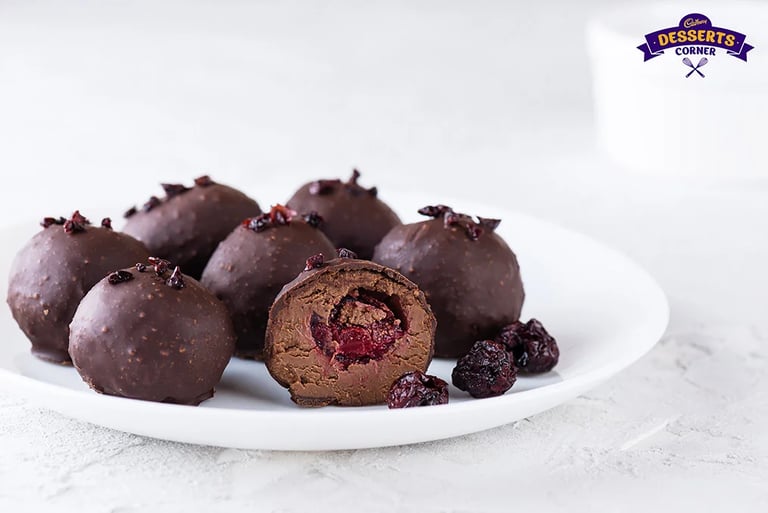
Get creative with fillings by mixing ganache with ingredients like mint, orange zest, or liqueurs. For a boozy center, stir a teaspoon of rum or brandy into the ganache. Try layering ganaches of different flavors or colors.
Troubleshooting Your Truffle Troubles
Common problems include gritty or oily ganache. Ensure the chocolate is finely chopped or melted properly. Ganache may also be over or under-mixed. Add cream slowly and stop mixing once smooth and thickened. Here’s what you can do:
1. Gritty Ganache
When the chocolate is improperly prepared before mixing, it can result in a gritty, grainy ganache. It's crucial to finely chop or smoothly melt the chocolate beforehand to fully dissolve any bits. Slowly heating and stirring ensures complete emulsion and prevents this unpleasant texture from occurring.
2. Separation Anxiety
Another frustrating foe is separation, which is when the ganache curdles before your eyes into distinct oil and liquid phases. This occurs when the ingredients aren't at the right temperature balance. Gradually pouring the cream into the chocolate while continuously whisking incorporates air and prevents this break.
3. Center Soft
On the other end of the spectrum lies a soft center problem, where the truffle filling is runny upon biting. This dampens presentation and breaks upon the first bite. Chilling the shaped balls longer allows proper thickening through crystallization. Adjusting the ganache ratio slightly also results in a firmer structure with experimentation.
4. Cracking Conundrums
Issues like cracking can damage those delicate shells too. A brief freeze before rolling reinforces the outer layer to withstand handling. Working swiftly but gently transfers the coating before melting occurs. Mastering these techniques means picture-perfect truffles every time.
5. Burnt Bitterness
The dreaded burnt chocolate flavor in truffles stems from scorching the ganache. Slowly heating the cream as it's added to melted chocolate prevents it from overcooking. Remove from heat immediately once combined, then cool before use. Chocolate with a higher cocoa percentage masks burnt tones better than milder varieties.
6. Sticking Situation
Truffles sticking together or to parchment are messy. Thoroughly dusting trays and balls with extra cocoa powder or coating prevents this. Gently separating any that have fused requires a light touch. Additional chilling reinforces coatings. Proper drying and handling prevent a sticky situation.
7. Crumbling Coating
Overworked or improperly dried coatings may crumble or crack. Roll truffles lightly to barely coat without pressing too firmly. Allow excess coating to fall off before transferring to a rack or tray. Gentle drying at room temperature until set, as it preserves the pristine coatings. Avoid over-handling for a professional finish.
Like This Article?
More Like This


Popular Articles


Trending Web Stories
Curated Recipes


