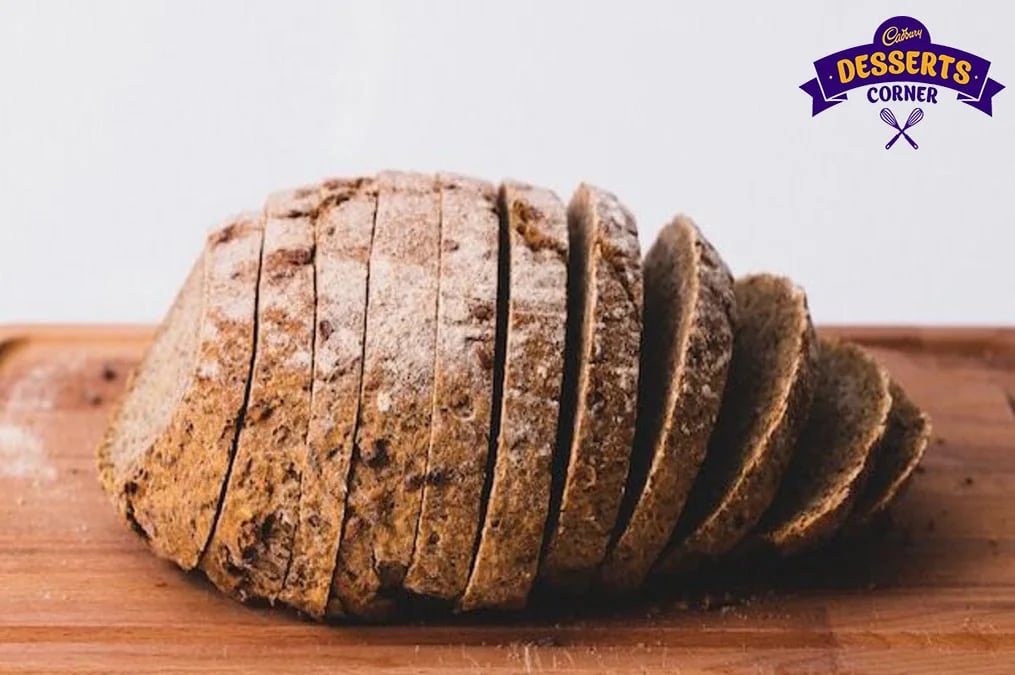
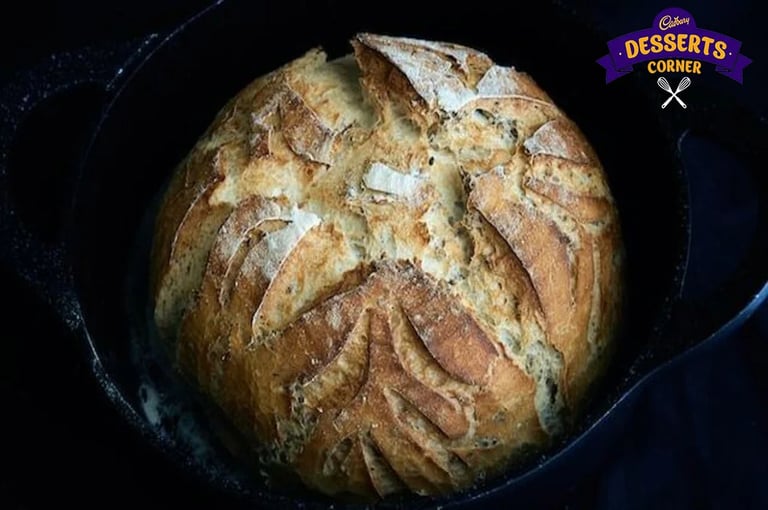
Yeasted bread is made by fermentation of wheat and rye flour doughs with yeasts. Here is a guide to make perfect yeasted bread at home.

Yeasted bread is made by fermentation of wheat and rye flour doughs with yeasts. Here is a guide to make perfect yeasted bread at home.
Bread is an integral part of our daily diet. From sandwiches and toast for breakfast to pudding for dessert, they can enjoy it in a variety of ways. Bread is super versatile and can be combined with a lot of ingredients to prepare a delectable dish. Among its many types, yeast bread is one of the most popular ones.
These breads are made by fermentation of wheat and rye flour doughs with yeasts. This is because combining warm water and sugar with yeast causes them to multiply and release carbon dioxide. Then when it is mixed with the other ingredients yeast creates a soft loaf of bread. The primary ingredients for yeasted bread are flour, water or milk, yeast, sugar, and salt. It comes in various forms, from simple sandwich loaves to rustic artisanal bread like baguettes and brioche. However, baking yeasted bread often intimidates beginners. We feel it's very challenging to get golden crust bread at home. But with a little effort and simple hacks, you can make perfect yeasted bread in your kitchen.

Here is an easy recipe to make yeasted bread at home:
Preparation Time 15 minutes
Cook Time 30 minutes
Total Time 3 hours 45 minutes
Ingredients
- 2 cups warm water
- 1 tbsp active dry yeast
- 1/4 cup honey or sugar
- 2 tsp salt
- 2 tbsp vegetable oil
- 4 - 5 1/2 cups all-purpose or bread flour
Method
Prepare the dough
- In a large mixing bowl or stand mixer add the yeast, water and a pinch of sugar or honey. Allow to rest for 5-10 minutes until foaming and bubbly. Add remaining sugar (or honey), salt, oil, and 3 cups of flour. Mix well to combine.
- Add another cup of flour and mix again to combine. With the mixer running add more flour, ½ cup at a time, until the dough begins to pull away from the sides of the bowl. It should be smooth and elastic, and slightly stick to a clean finger, but not too sticky. You can add a little more flour, if needed.
Knead the dough
- Mix the dough for 4-5 minutes on medium speed or you can also knead it with your hands on a lightly floured surface.
For first rise
- Grease a mixing bowl with oil or cooking spray and place the dough inside, turning to coat. Cover it with a towel or plastic wrap and let it rise in a warm place for about 1 1/2 hours.
- Spray two 9x5 inch bread pans generously with cooking spray on all sides. Punch the dough down well to remove air bubbles. Divide into two equal portions and shape each of them into long logs. Place into greased loaf pans.

For second rise
- Spray two pieces of plastic wrap with cooking spray and lay them gently over the pans. Allow dough to rise again for about 45 minutes to one hour, or until risen about 1 inch above the loaf pans. Gently remove the covering.
Bake
- Preheat the oven to 350 F. Bake bread for about 30-33 minutes, or until golden brown on top. Invert the loaves onto a wire rack to cool. Brush the tops with butter and allow to cool for at least 10 minutes.
- Once cool, it is ready to enjoy. Store in an airtight container or bag for 2-3 days at room temperature, or up to 5 days in the refrigerator.
Tips To Make Perfect Yeasted Bread At Home
- Use Cold Warm Water
- Always use cold water to make the dough. Because it will allow the gluten and yeast to slow down the process. This in turn will allow the dough to rise for a long time (like 3 hours) making it taste much better.
- Bake It Well
- Bake the bread at quite a high temperature. Don’t worry, it will not burn. Rather you will have a nice crispy outer layer and it does take time to cook through. Also, when you have put the bread in the preheated oven, don’t open the door frequently to check on it.
More Like This
Popular Articles


Trending Web Stories
Curated Recipes


