Once you know how to make dark chocolate at home bereft of wax, preservatives, and palm oil, you’ll be able to make guilt-free treats for your loved ones.

The best part of making dark chocolate at home is that the sweetness can be tweaked to taste, and add-in ingredients and combinations are endless. To make it healthier you can use natural sweeteners like honey or maple syrup.
Ingredients:
- 100 gm Cocoa butter
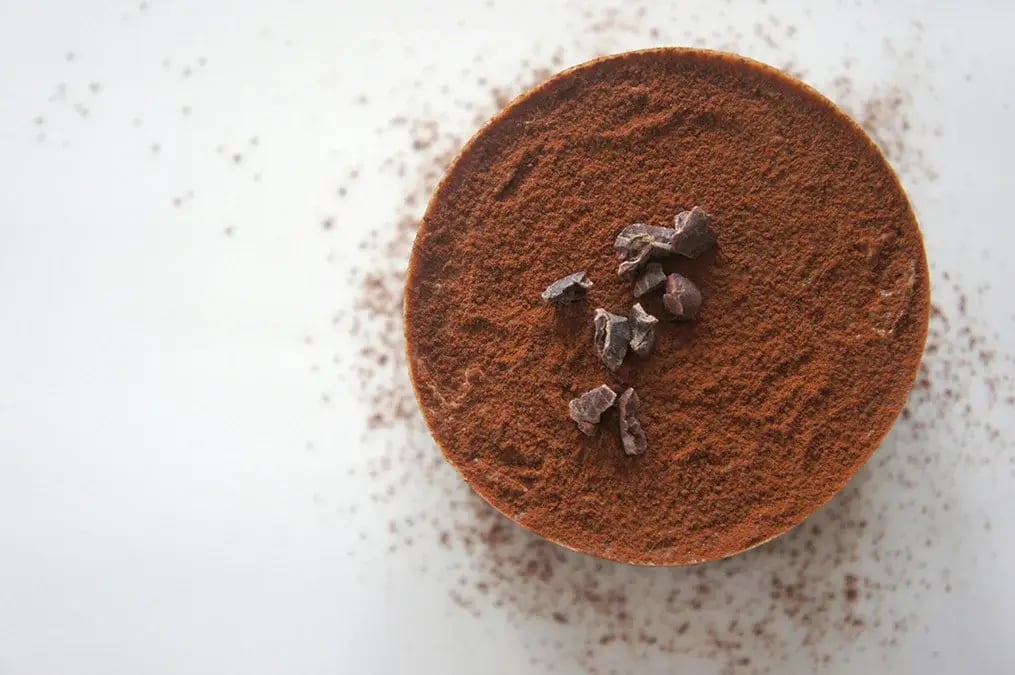
- 60 gm Cadbury Bournville Cocoa powder
- A pinch of Salt
- (Optional) 10- 25 gm of Sweetener
Paraphernalia required:
- Double boiler – using a double boiler method is the best way to melt the cacao butter.
- Chocolate mold – use a flexible silicone mold so your chocolate comes out easily.
- Silicone spatula – always use a silicone spatula as it isn’t porous and thus there’s no risk of it containing water (like wooden utensils) and causing the dark chocolate to seize.
Step 1: Melt the cocoa butter

- Start by prepping your double boiler: Fill a medium-sized saucepan with a few inches of water and place a heat-safe bowl on top. Please make sure it’s slightly bigger than the pan’s rim. Ensure the bowl’s base isn’t in contact with the water.
- Let the water come to a soft simmer over medium-low heat. In the meantime, if you have a large block of cocoa butter, chop it into small, uniform bits. This will help it melt swiftly and consistently without burning.
- Drop the cocoa butter into the bowl and whisk or stir gently but regularly to avoid burning.
- Please note that normal butter can’t be used as a substitute for cocoa butter in this recipe. Cocoa butter is purely fat and has a distinct flavor and texture, which normal butter lacks. If you use regular butter, the consistency and taste of the final dark chocolate will change. Cocoa butter also hardens at room temperature, unlike regular butter, and you would not be able to achieve the desired texture.
Step 2: Add the cacao powder

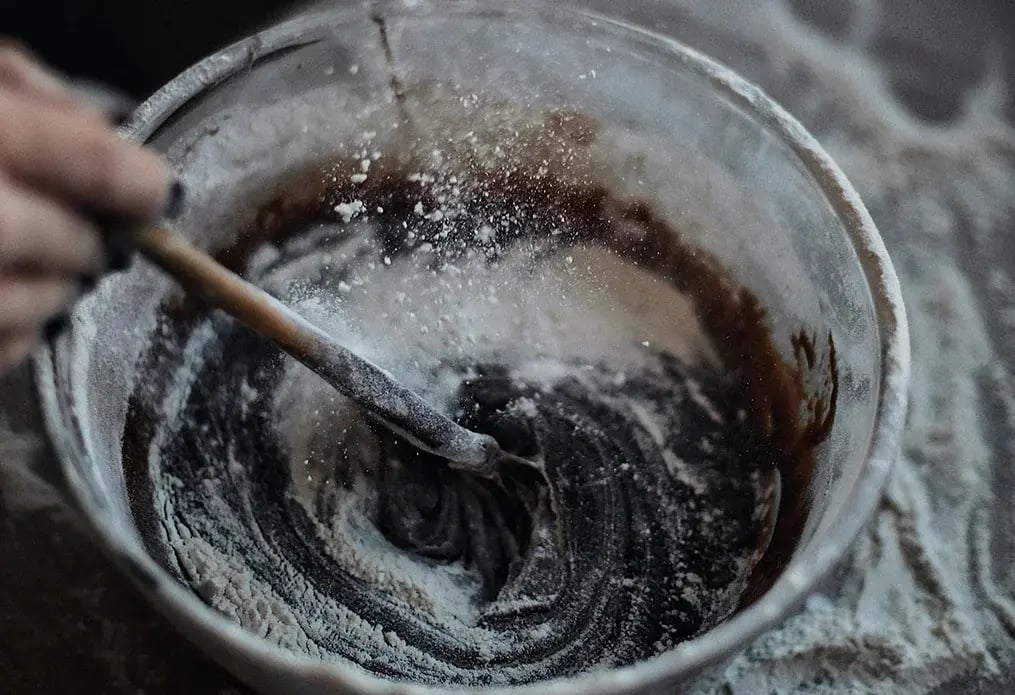
Once the butter is completely melted,set it aside. Then sift in the cocoa powder and salt and stir to thoroughly combine. Be patient and take your time. Be gentle and do not hurry.Step 3: Include the sugar
- If you want to add any sugar then add that at this point. Always try to ensure the sweetener is finely powdered. Granulated sugar might not dissolve completely, resulting in an unwanted grainy feel in the final chocolate.
- Add your sugar in small amounts; keep tasting as you go. It’s much easier to adjust the sweetness this way as opposed to trying to fix an overly sweet batch later.
- Liquid sweeteners like honey and maple syrup can affect the firmness of your chocolate. For a solid bar that hardens at room temperature, dry sweeteners are your best bet.
We understand that honey is more readily available and you could be lured to use it. So if you're using honey or maple syrup, start by reducing the amount you add, as these liquid sweeteners will soften the chocolate. Stir thoroughly but not vigorously to ensure the syrup blends smoothly with the cocoa butter, preventing any lumps or the risk of the chocolate becoming grainy. Keep the heat on low during this process, as higher temperatures might cause the mixture to split. Once combined, refrigerate the chocolate to help it firm up, as it may take longer to solidify compared to chocolate made with powdered sweeteners. - Again, patience is the key! Take your time and mix the sugar thoroughly into the chocolate. Sifting the sugar ensures smooth integration and prevents any unpleasant clumps or uneven sweetness.
Step 4: You’re almost there

Turn off the heat and remove the bowl from the pan. Ensure no water or steam comes in contact with the chocolate, as even a drop can cause it to seize and become grainy.
Also, add any additional flavorings at this point like vanilla powder or vanilla extract, orange or mint oils or other natural flavor oils such as mint, orange, etc. Make sure that they aren’t water-based otherwise the chocolate can seize.
Let it cool a bit (not under the fan or it will start to harden from the top). After two minutes, give it a thorough mix.
Step 5: Set it and you’re ready
Set it in a clean, dry silicone mold. Pour the mixture carefully to avoid bubbles or spills. Work quickly but carefully. While you don’t need to rush, make sure the chocolate doesn’t sit for too long, as it will start to solidify.
More Like This
Popular Articles


Trending Web Stories
Curated Recipes


