


How to make the best crostini — from the comfort of your kitchen

Crostini, the delightful Italian appetiser, is a simple yet elegant addition to any gathering. Creating the perfect homemade crostini involves a few key steps and attention to detail. Follow this step-by-step guide to elevate your culinary skills and impress your guests.
Step 1: Gather your ingredients
To make the perfect crostini, start with high-quality ingredients. You'll need a baguette or artisanal bread, extra virgin olive oil, garlic cloves, and a pinch of salt. You could also add herbs like rosemary or thyme for a unique flavour.
Step 2: Selecting the bread
The best bread for crostini is not regular sliced white bread or a rich loaf like brioche or challah. Instead, an ideal choice would be a baguette or a long Italian loaf, as their small surface area is just the right size for these appetiser toasts. The bread doesn't necessarily have to be fresh, as it will be dried out in the oven. Therefore, if you have a day-old baguette, you can use it for the crostini.
Choose a fresh baguette or artisan bread with a crispy crust and a soft interior. Slice the bread into 1/2-inch thick pieces. The size of the slices can be adjusted based on your preference.
Step 3: Preparing the olive oil infusion

Combine extra virgin olive oil with crushed garlic cloves and a pinch of salt. This infused oil will be brushed onto the bread, imparting a rich flavour. You can also add finely chopped herbs to enhance the aromatic profile.
Step 4: Preheating the oven
Preheat your oven to 375°F (190°C). While the oven is warming up, arrange the sliced bread on a baking sheet, ensuring they are evenly spaced for uniform toasting.
Step 5: Brushing the bread
Using a pastry brush, generously coat each bread slice with the garlic-infused olive oil. Ensure that both sides of the bread are well-covered for a balanced flavour.
Step 6: Toasting in the oven
Place the baking sheet in the preheated oven and toast the bread for about 8-10 minutes or until the edges become golden brown. Keep an eye on them to prevent burning.
Step 7: Flipping and finishing
After the first side is toasted, carefully flip each slice and return them to the oven for an additional 5-7 minutes or until the second side achieves the desired level of crispiness.
Step 8: Cooling
Allow the crostini to cool on a wire rack. This step is crucial for achieving the perfect texture – crispy on the outside, yet tender on the inside.
Step 9: Serving suggestions
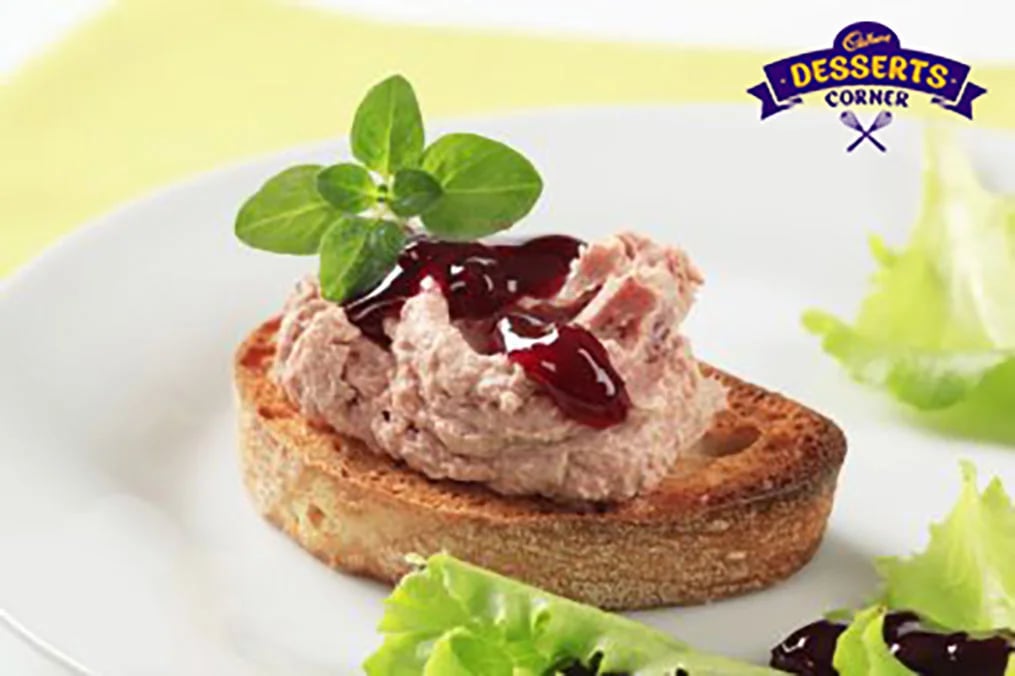
Now that your crostini is ready, the serving options are endless. Pair them with bruschetta, tapenade, cheese, or a variety of spreads. The versatility of crostini makes it an ideal canvas for your culinary creativity.
Step 10: Presentation
Arrange your crostini on a platter, garnish with fresh herbs or a drizzle of balsamic glaze for an aesthetic touch. The visual appeal adds to the overall dining experience.
Infusing flavour: The key to the perfect crostini lies in the infusion of flavour. Extra virgin olive oil, known for its robust taste, becomes a medium for delivering the crushed garlic essence and a hint of salt. The combination of these elements creates a richness that turns the humble bread slices into a culinary delight. The addition of finely chopped herbs adds aromatic nuances that engage the senses from the first bite.
Precision in preheating and toasting: As the oven preheated to 375°F (190°C), it's important to pay attention to detail to ensure the success of the toasting process. Evenly spaced bread slices on a baking sheet guarantee uniform toasting, while keeping an eye on them prevents any risk of burning. The result is a symphony of textures – a golden exterior giving way to a tender interior, creating a harmonious balance.
Coating the bread: A pastry brush is the tool of an artist as it gracefully applies the garlic-infused olive oil to each bread slice. The generous coating ensures that every inch is saturated with flavour, creating a sensory experience that resonates with every bite. Careful attention to coating both sides of the bread guarantees a symphony of flavours that dance on the palate.
The toasting process: The toasting process unfolds like a ballet, with every movement contributing to the final masterpiece. After the first side achieves the desired golden hue, a gentle flip reveals the promise of a crispy counterpart. A brief return to the oven allows the second side to reach its pinnacle of crispiness, ensuring a satisfying crunch in every bite.
Mastering the art of making homemade crostini is a rewarding culinary journey. By carefully selecting quality ingredients, infusing flavours, and toasting to perfection, you can create a delightful appetiser that will have your guests asking for the recipe. Experiment with different toppings and spreads to make this versatile dish your own. With this step-by-step guide, you're well on your way to becoming a crostini connoisseur. Enjoy the process and bon appétit!
More Like This
Popular Articles


Trending Web Stories


Curated Recipes


