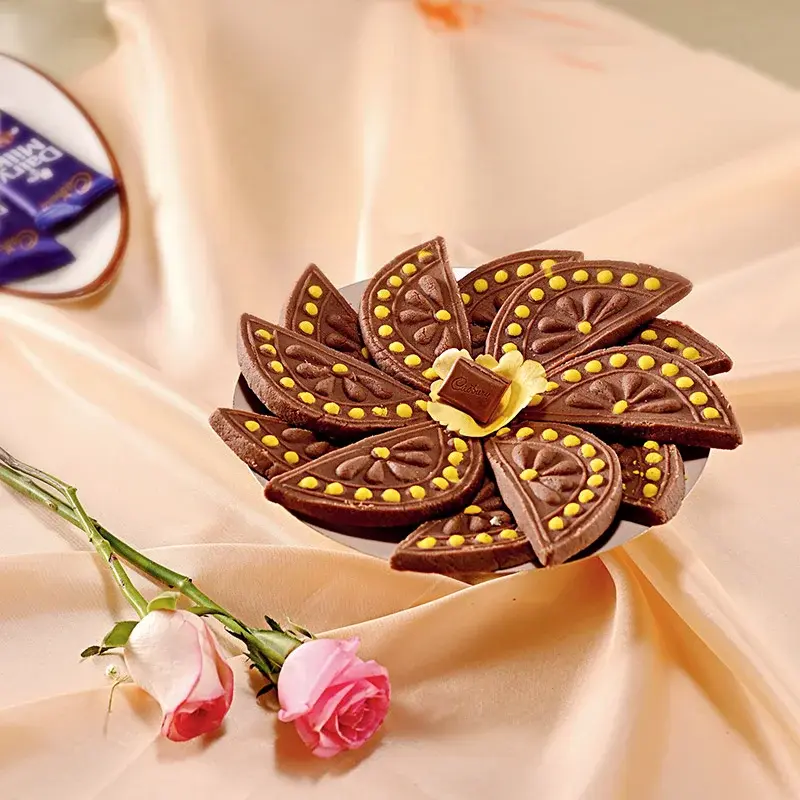
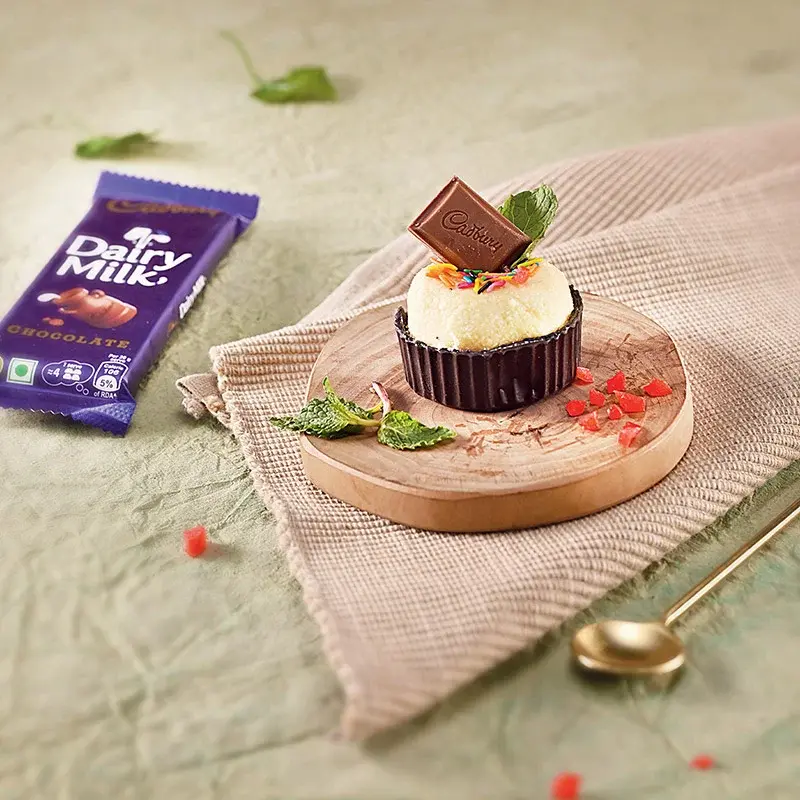
Mawa is an essential ingredient in Indian cuisine, so we came up with a guide to crafting the perfect homemade version. Picture yourself transforming your kitchen into a haven of aromas with Mawa taking center stage in your creations.

Obsessed with Mawa? Here’s a Step-By-Step Guide For The Perfect Homemade MawaMawa, also known as Khoya, holds an important place in Indian cuisine being an integral component of both sweet and savory dishes. It is a thickened milk solid, renowned for its texture and nutty flavor. In many South Asian recipes, it serves as the foundation. Traditionally, preparing Mawa involves simmering milk for hours until it reduces to one-fifth of its original volume and attains a semi-solid consistency, resembling dough. While this method guarantees the taste it can be time-consuming.
You may ponder if you can replicate this gem in your kitchen. Absolutely! Creating Mawa is not only possible but also brings joy and authenticity to your cooking process.
Ingredients: The Key to Best Results

To embark on this journey of making Mawa at home, you'll need some simple, yet essential ingredients, which are mostly pantry staples:
- Milk Powder: Milk powder is the main ingredient for creating Mawa. It's important to choose high-quality milk powder for the best outcome.
- Heavy Whipping Cream: Adding heavy whipping cream brings richness to your Mawa, ensuring it has a creamy texture.
- Ghee: Just a little scoop of ghee can significantly enhance the flavor of your Mawa.
- Yogurt: Opt for Greek yogurt or thick curd to add tartness to your Mawa.
- Ricotta Cheese: For a luxurious texture, use full-fat ricotta cheese in your recipe.
- Sweetened Condensed Milk: This ingredient adds sweetness and gives your Mawa a dark hue.
The Process: An Artful Creation
Making Mawa at home is both simple and artful because cooking after all is an art in itself. Follow this step-by-step guide to create moist and decadent Mawa in a jiffy:
- Mix and Match: Begin by combining the ingredients in the right proportions as the secret lies in achieving the blend!
- Stirring is Crucial: Continuous stirring is essential to prevent the milk from burning and achieve a smooth texture for your Mawa.
- Microwave Magic: While most recipes can be conveniently made using a microwave, they can also be adapted for stovetop cooking if desired.
- Visual Guide: Pay attention to the texture at each stage of cooking, for flawless results.
Different Types of Mawa: A Textural Wonderland

Mawa comes in different forms each with its distinctive texture and culinary uses:
- Hard Khoya (Batti Khoya): This type is firm and dense, commonly used in preparations like pedas, burfis, and ladoos.
- Soft Khoya (Chikna Khoya): Moist and soft in texture, it is perfect for enriching gravies and making sweets such as Gulab Jamuns.
- Granular Khoya (Danedar Khoya): With a grainy consistency, this variety works well for dishes like Kalakand and granular burfi.
How is Mawa different from Paneer?
Although both Mawa and Paneer are made from milk, they have different characteristics. Paneer is a type of cottage cheese made by curdling milk and pressing it into blocks. On the other hand, Mawa is created by reducing milk until it forms a creamy solid.
Proper Storage of Homemade Mawa
If you don't plan on using the freshly made Mawa right away, it's best to allow it to cool down first. Store it in an airtight container in the refrigerator for up to 3-4 days. Freeze it for up to 2 months. When needed, thaw the Mawa overnight in the fridge, and crumble it, and use it as needed.
The Versatility of Mawa

Homemade Mawa can elevate your cooking game significantly during occasions, like weddings, birthdays, or other celebrations. It has the ability to enhance the flavors of both savory and sweet dishes, making them more delicious and flavorful.
To summarize, preparing Mawa at home is not about cooking; it's an experience that brings happiness and a touch of Indian culture to your kitchen. So put on your chef’s hat and embark on this adventure, where the final outcome is as satisfying as the journey itself. Enjoy cooking!
More Like This
Popular Articles


Trending Web Stories
Curated Recipes


