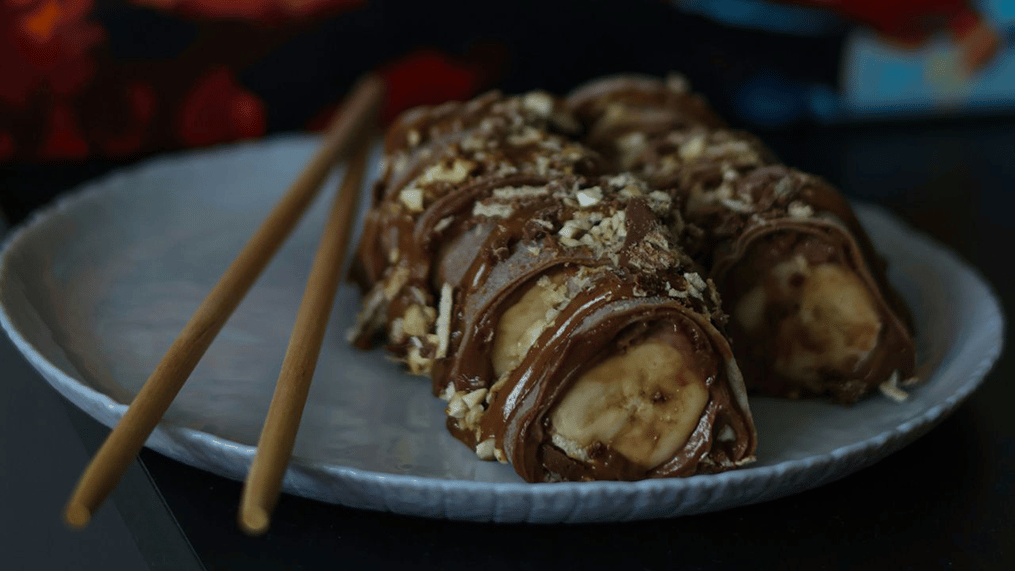
Treat this as a guide or rather template to craft one of the most unique desserts ever – dessert sushi compact with sticky rice and fruits in them

Treat the recipe below as a guide to craft the perfect sushi, get a grasp of the ingredients and their nature, the technique, and hold to keep them in a sliced roll and you’ll have your own batch of dessert sushi in no time. Kids will love these, especially if you've been at their heels wanting to feed them something healthy and filling. You can easily substitute strawberries for mangoes, coconut, kiwis, and cherries. Pick your child's or family’s preferred fruits and wrap up a set of unique desserts today!
Dessert Sushi Recipe
(Serves 6)
Ingredients:
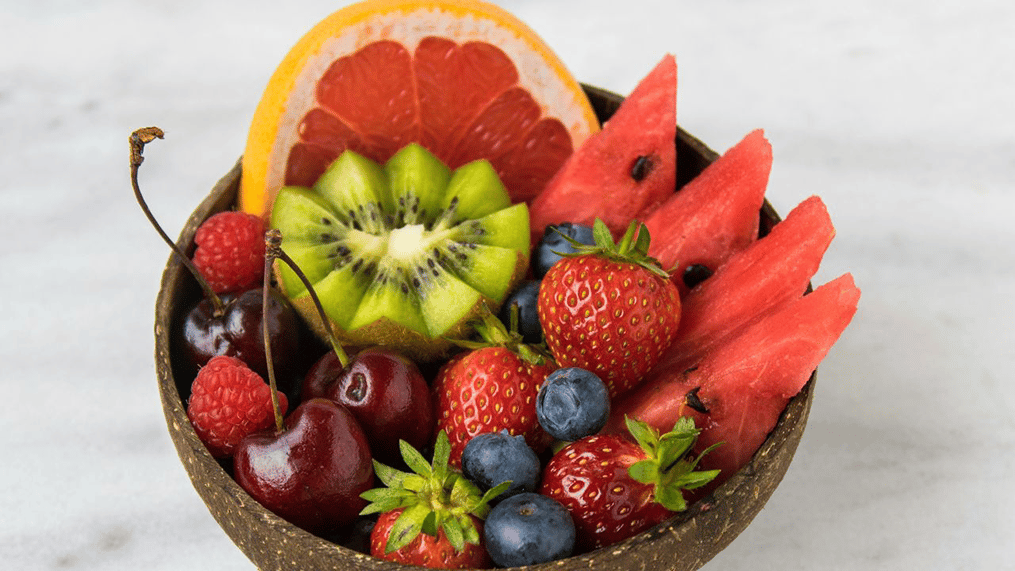
- - 120 gm raspberries
- - 150 gm blackberries
- - 300 gm strawberries
- - 1.2 kg coconut sticky rice, cooked
Optional:
- Shredded coconut to top
- Kiwi or your favorite fruit
Instructions:
- Rinse and wash the sweet coconut rice thoroughly and drain it. Cook it and let it cool until it is warm to the touch.
- Wash the fruits well, pat dry, then slice the berries lengthwise, and let the raspberries remain whole. Set aside.
- Now, there are different ways to make sushi, but we have picked the sushi roll, for more check notes. For making sushi rolls, you will need a bamboo sushi mat and a plastic wrap or a piece of parchment paper, to go over it.
- Measure around 1 cup of rice for each roll and spread a thin layer of rice over the mat or parchment paper, smoothening the rice into something close to a square, one side needs to be slightly longer than the other.
- Keep a border of 1.5 inches and place the sliced fruits over the rice. Put a thin layer and don't overfill or it will be very difficult to roll the sushi.
- Using your hands, start rolling the sushi into a log shape, using the shorter side, and press lightly to stick the edges of the rice roll together and form a solid, leakproof log.
- Tighten the plastic wrap or parchment paper around the log, twisting tightly at the ends, like you are twisting the ends of the wrapping of a toffee.
- Refrigerate the shishi roll for one to two hours to set.
- Once set, take the log out and slice the roll. You could release it from the parchment paper or plastic wrap or keep it on and using a razor-sharp knife dipped in water, make quick and firm slices with a width of one to two inches each.
Notes:
- For sushi balls, you will have to make paper-thin fruit slices using a very sharp knife. Fruits such as apples, kiwi, and mango are good options for this sushi shape here. After slicing the fruits, arrange them to slightly overlap, into the shape of a circle over a piece of plastic wrap.
- For a plain rice center, simply drop 1 tablespoon or add half a tablespoon more of the sweet rice in the center of the fruit circle. You could also push a small berry instead of the rice core.
- Take the plastic wrap and wrap it up and around the wall and squeeze lightly into shape. Then secure by twisting the plastic wrap on top. Let it stay that way for four to five minutes to set, you can also chill the ball for an hour before unwrapping it from the plastic.
- If you want to fashion the sushi into nigiri, you need to chop your fruit in a way that the pieces are big enough to sit on top of the rice and leave the little fruits like raspberries whole.
- Portion the rice into two to four tablespoon pieces, depending on how big you want your nigiri. Shape the rice into a rectangular shape log and then decorate it with the fruits of your choice. Use a little honey, jam, or caramel sauce to stick the fruits if they keep sliding off.
Decoration Ideas

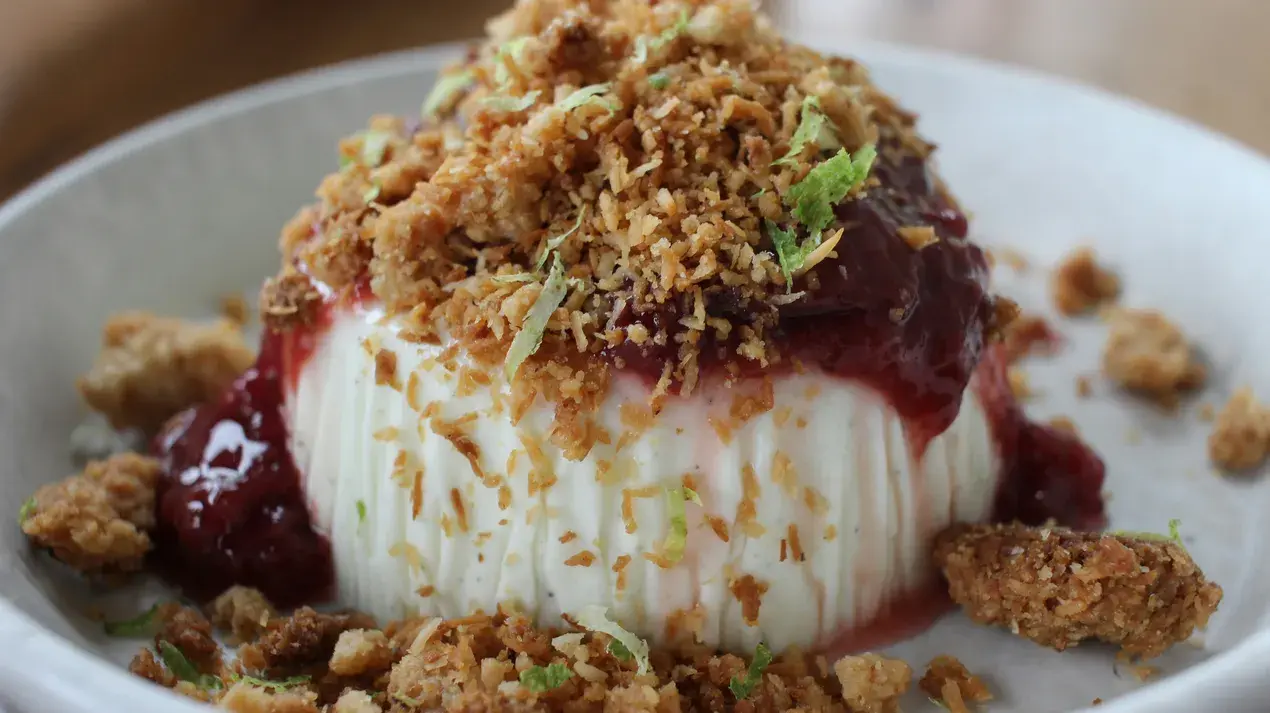
Your sushi, whichever way you made it, is ready to eat. But one last little step is left. Remember the sauces drizzled on sushi? You can replicate that with a little watered-down jam served on the side. Drizzle some chocolate sauce on top too for a pop of flavor. If you want a hint of green, top it with a sprig of mint or basil leaves.
Like This Article?
More Like This
Popular Articles


Trending Web Stories
Curated Recipes


