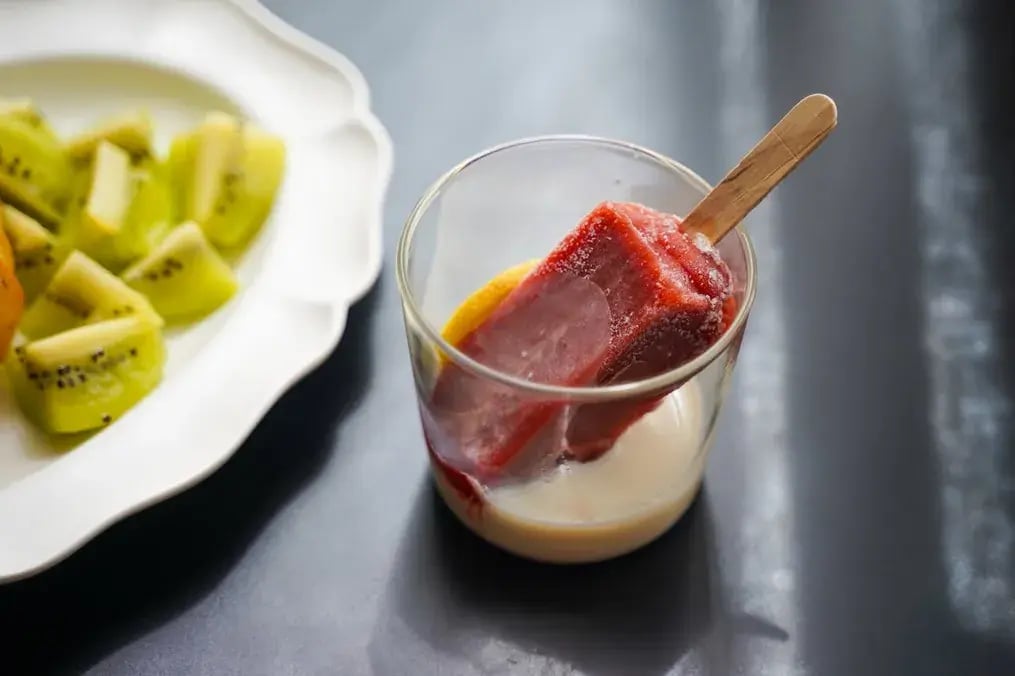
Beat the summer heat with a refreshing coconut milk raspberry popsicle. Learn the recipe, tools, and tips for perfect frozen treats.

Summer's scorching heat often gives us a craving for something cool. And what better way to get rid of the heat than with an icy popsicle? Sweet, tangy raspberries combined with creamy coconut milk make a decadent yet healthy frozen treat. Popsicles are a summertime staple and making them at home allows you to use fresh ingredients and avoid preservatives and artificial colors. They not only taste great but allow for trying new flavors and textures. Using coconut milk gives a non-dairy flavor, so these pops are suitable for vegan and dairy-free diets. A summer sunshine color comes in from the raspberry, with its creamy base of coconut milk helping to balance out the tartness of the berries. Whether it is after playtime for kids or after a stressful day for adults, these coconut milk raspberry popsicles are sure to cool, energize, and curb your sweet cravings. Dive into this revitalizing recipe!
Homemade Coconut Milk Raspberry Popsicles Recipe

Ingredients
- 1 cup of fresh or frozen raspberries
- 1 cup full-fat coconut milk
- 2 tbsp honey or maple syrup adjust to taste
- 1 tsp vanilla extract
- Juice of half a lemon
- 1/4 cup water
Method:
Wash the fresh raspberries thoroughly. Put them in the blender or food processor. When using frozen raspberries thaw them a little before blending; this will make it easier on the blender. Blend the raspberries until smooth and then strain the puree through a fine mesh sieve, removing the seeds, thereby making a smooth raspberry pulp.
In a separate bowl, whisk together the coconut milk, honey or maple syrup, vanilla extract, and lemon juice until well combined. The coconut milk should be rich and creamy, creating the perfect base for the popsicles. If you prefer a slightly thinner consistency, you can add a little water to the mixture at this point, but the coconut milk alone usually provides enough creaminess.
Fill the popsicle molds three-quarters of the way with the coconut milk mixture. Using a spoon, gently spoon the raspberry puree over the coconut milk in each mold. Insert a skewer or spoon and swirl the two mixtures together to create a beautiful marble effect. Avoid over-mixing because you want distinct swirls of raspberry running through the coconut milk.
Place the popsicle sticks in the center of each mold and freeze for at least 4-6 hours or overnight for the best results. The popsicles will be fully frozen and ready to pop out once set.
Additions and Substitutions

Add a spoonful of lime zest to the coconut milk mixture for a tangy twist.
If you prefer less sweet, reduce the honey or maple syrup and let the raspberries shine in their natural sweetness.
To make the popsicles even healthier, add a handful of nuts or seeds to the raspberry blend for a richer smoothie popsicle variant.
Add shredded coconut to the coconut milk base for a bit of crunch.
Swap raspberries for strawberries, blueberries, or mixed berries for a different berry combination.
If you're looking for an even less creamy popsicle, feel free to use unsweetened coconut milk.
What You Need to Make Homemade Popsicles?

Making homemade popsicles is a very easy process. You will require popsicle molds. These can be of different shapes and sizes. They can have sticks like the traditional popsicle molds or something more creative. Choose whatever you prefer – silicone ones come off easily, while metal molds tend to give you the more traditional shape.
Then, a blender or food processor is needed to break up the raspberries and coconut milk as much as possible to leave no lumps or seeds in the final product. A fine mesh sieve will be useful in straining the raspberry puree, so it is smooth. If you feel artistic, you can swirl both mixtures together using a skewer or spoon for the marbled effect. Lastly, a freezer is a must! You’ll need ample space to let the popsicles freeze thoroughly without interference.
Storage Tips

Once your homemade coconut milk raspberry popsicles have been set, you’ll want to store them properly to maintain their texture and flavor. The first step is to remove the popsicles from the molds. If you’re struggling to release them, briefly run warm water over the outside of the molds to loosen the popsicles without melting them.
After removing the popsicles, wrap each one individually in plastic wrap or parchment paper to prevent them from sticking together. This also helps keep their flavor intact by preventing them from absorbing other freezer odors. Store the wrapped popsicles in a resealable plastic bag or an airtight container in the freezer.
These popsicles can stay fresh for up to 2-3 weeks, but they’re best enjoyed within the first week for optimal taste and texture. If you’re planning to keep them for a longer period, consider wrapping them in an additional layer of foil or placing them in a container with a lid to prevent freezer burn. Remember that they stay longer in the freezer so they might become hard so allow them to sit for a minute or two before biting for that creamy texture.
Freeze leftovers if you don't plan on using them all. In the rare case that they develop some freezers burn, inspect the popsicles before eating-they usually do just fine in the freezer. It's a great summer pleasure made easy with these simple tips!
Like This Article?
More Like This


Popular Articles


Trending Web Stories
Curated Recipes


