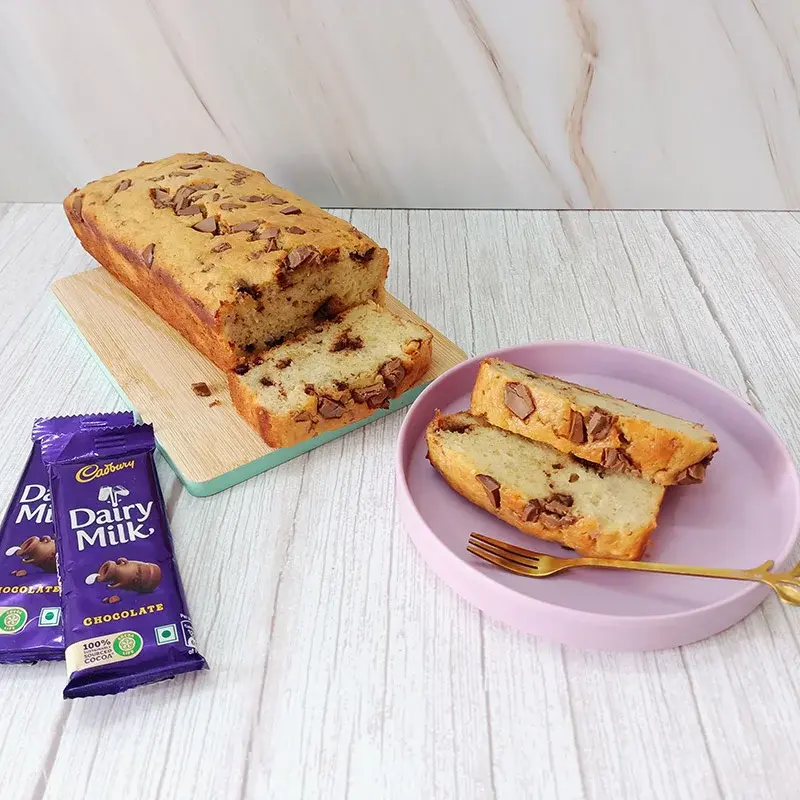
Danish pastry, with its captivating variants and delectable flavors, has earned its place in the global gastronomy scene.
Picture yourself in Copenhagen on a chilly morning, where the delightful scent of baked pastries fills the air. It is here that our story begins, with the simple yet extraordinary creation that is the Danish pastry.
Originating in Denmark during the 19th century, this pastry has become synonymous with Danish culture and craftsmanship. What distinguishes it is its layered texture, achieved through baking techniques as well as its versatility when it comes to flavors. Each Danish pastry tells a tale of artistry through options such as apple fillings, tangy apricot accents or rich almond paste.
The fact that this pastry has transcended borders speaks volumes about its appeal. Found in cafes and bakeries across the globe, it has evolved from being a dessert to becoming a symbol of indulgence and refinement.
The Art of Making Danish Pastry: Step-by-Step Directions
Ingredients:
- 1 packet of yeast (approximately 2 1/4 teaspoons)
- 1/2 cup of lukewarm whole milk
- 1/4 cup of granulated sugar
- 1 teaspoon of salt
- 2 large eggs at room temperature
- 2 1/2 cups of all purpose flour plus extra for dusting
- 1 cup of cold unsalted butter thinly sliced
- Optional: Fruit filling or almond paste
Instructions:
- Start by dissolving the yeast in milk in a bowl. Add a pinch of sugar and let it sit for 5 minutes until it becomes frothy.
- Take another bowl and combine the yeast mixture, sugar, salt and eggs. Gradually add in the flour, while continuously mixing until you achieve a dough that might be slightly sticky.
- Prepare your working surface by dusting it with flour. Roll out the dough into a rectangle shape. Arrange slices of butter over the center third portion of the dough. Proceed to fold one side over the butter and then fold the other side on top, similar to folding a letter.
- Wrap the dough in plastic wrap and put it in the refrigerator for 30 minutes. This helps the butter to become solid and makes it easier to roll out the dough.
- Take out the dough from the fridge, roll it into a rectangle again and then fold it into thirds. Repeat this process two times with a 30-minute break for chilling between each roll and fold. This will create the layers that make the pastry special.
- Roll out the dough one final time. Cut it into desired shapes and sizes. If you're using fillings, place them in the center of each piece.
- Place the pastries on a baking sheet, lightly cover them with a kitchen towel. Let them rise for about an hour until they slightly puff up.
- Preheat your oven to 400°F (205°C). Bake the pastries for around 15-20 minutes until they turn brown and become flaky.
- Allow some time for the pastries to cool before serving. They are most enjoyable when warm, with a sprinkle of sugar or a drizzle of icing.
Danish pastry represents a blend of tradition and innovation, serving as an emblem of Denmark’s heritage that has captivated people worldwide. Whether you find yourself strolling through the streets of Copenhagen or sitting in a New York café, these pastries never fail to enchant both food lovers and casual diners alike.
Though initially intimidating, embarking on the journey of making Danish pastries at home promises to be a rewarding experience. With every fold and layer crafted meticulously, you not only create a dessert but also immerse yourself in a rich cultural heritage.
More Like This
Popular Articles


Trending Web Stories
Curated Recipes


